
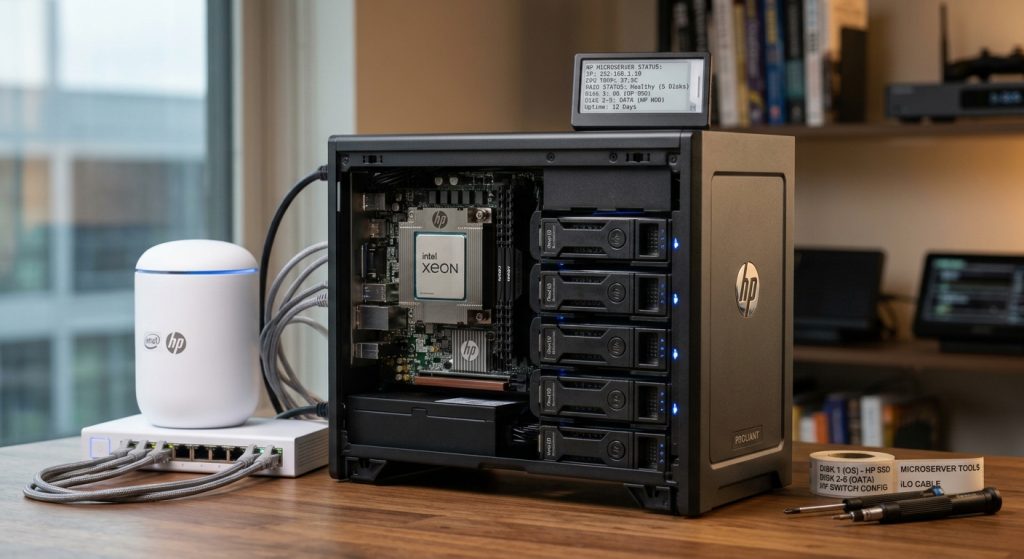
Building Your Own Home Server: The Complete Hardware, Software, and Network Security Guide
Building a home server is one of the most rewarding projects you can undertake. Whether you want to escape the rising public cloud subscription fees, centralise your family’s media library, run your own private backup vault, or experiment with local artificial intelligence tools, hosting your own server puts you back in control of your data.
However, moving services out of a commercial data centre and into your living room requires careful planning across three key pillars: Hardware selection, Operating System and software stack, and Network/Firewall configuration to ensure your server stays accessible to you while remaining completely hidden from malicious actors.
Part 1: Choosing Your Home Server Hardware
When it comes to hardware, your primary choices are repurposing an old desktop, buying a mini-PC, or building a custom desktop tower/NAS. Avoid running heavy workloads on unstable consumer laptops; instead, target hardware built for reliability and low power draw.
1. The Core Components
- CPU: Look for processors with good power efficiency and hardware video transcoding capabilities (such as an Intel Core processor with integrated graphics Quick Sync, which is heavily favoured for media servers like Plex or Jellyfin). If you plan to run heavy virtualisation or local LLMs, prioritise higher core counts and ample RAM bandwidth.
- RAM: Start with a minimum of 16GB of ECC or non-ECC RAM, scaling up to 32GB or 64GB if you intend to run multiple virtual machines or heavy Docker container clusters.
- Storage Strategy (NAS/DAS): Separate your boot drive from your data pool. Use a fast NVMe SSD for your operating system and application containers, paired with high-capacity mechanical Hard Disk Drives (HDDs) configured in a redundant array (like ZFS or RAID) for bulk storage.
- Network Interface: A standard gigabit port works fine for basic file transfers, but upgrading to a 2.5GbE or 10GbE network card ensures lightning-fast backups and smooth handling of large media files if your surrounding network switch supports it.
Part 2: Selecting Your Software Stack
Once your hardware is assembled, you need an operating system designed for stability, remote management, and containerization.
1. The Operating System Layer
- Proxmox VE: A powerful open-source virtualisation environment built on Debian Linux. It allows you to run full Virtual Machines (VMs) and lightweight LXC containers side-by-side, making it the gold standard for home labs.
- TrueNAS SCALE / CORE: Ideal if your primary goal is robust Network-Attached Storage (NAS) combined with native Kubernetes/Docker app hosting.
- Ubuntu Server / Debian Linux: Excellent choice if you prefer a traditional, lightweight Linux environment where you configure everything manually via the command line and Docker.
2. Essential Self-Hosted Applications
Once your OS is live, deploy applications using Docker and Docker Compose for easy updates and isolation:
- Media & Entertainment: Plex, Jellyfin, or Audiobookshelf.
- Storage & Sync: Nextcloud or Syncthing for private cloud file syncing.
- Automation & Monitoring: Home Assistant for local smart home routing, and Uptime Kuma for server health tracking.
Part 3: Navigating the Firewall, Router, and Secure Remote Access
Exposing a home server directly to the open internet is a security nightmare. Automated botnets scan residential IP addresses constantly, looking for open ports to launch brute-force attacks. To build a secure home server, you must implement a strict network strategy.
Step 1: Network Segmentation (VLANs)
Never place your home server on the exact same network segment as vulnerable Internet of Things (IoT) devices like smart plugs or security cameras.
- Use a router that supports VLANs (Virtual Local Area Networks) to isolate your server and trusted personal laptops into a secure “Inner Sanctum” zone, blocking untrusted devices from lateral movement.
Step 2: Ditch Port Forwarding (Use a Secure VPN Tunnel)
Decades ago, users would open port 80 or 443 on their home routers to access services remotely. Do not do this. Opening raw ports invites automated intrusions. Instead, set up a secure, encrypted tunnel:
- Install a lightweight VPN server like WireGuard directly on your router or inside a secure container on your server.
- When you are away from home, you activate your WireGuard client, which tunnels your traffic securely back into your home network. Your server services remain completely invisible to the public internet while remaining instantly accessible to you.
Step 3: Hardening Your Router and Firewall
- Kill Remote Management: Ensure your router’s administrative control panel cannot be accessed from outside your home network.
- Disable UPnP: Universal Plug and Play allows devices to automatically open ports on your firewall without your permission. Turn it off immediately to block malware from punching its own holes through your network perimeter.
- Implement Outbound (Egress) Filtering: Advanced firewalls (such as open-source platforms like OPNsense or pfSense) allow you to restrict what internal devices can talk to outbound. This ensures that even if a server container is somehow compromised, it cannot phone home to an attacker’s Command and Control server.
Conclusion
Building your own home server transforms your relationship with technology. By pairing efficient hardware with a reliable hypervisor like Proxmox or TrueNAS, and locking down your perimeter using VLAN segmentation and a WireGuard VPN instead of risky port forwarding, you create a private, lightning-fast digital ecosystem that belongs entirely to you.